I have followed up my Dallas Photo Art project with some Chicago style art. I took a couple hundred photos last month while in Chicago but managed to narrow it down to three I really liked. I filtered them with Instragram like the Dallas pictures and then ran by Michaels to grab 3 more square frames. Here are the pictures I used.
And here's my finished product. I hung them in between the fireplace and the armoire to try to fill in that space a little bit.
I'm not 100% sold on all of these pictures staying in the living room but they are helping fill a little space until I find something else.
Thursday, August 18, 2011
Wednesday, August 17, 2011
Waking up the Nightstand
Thanks to my Hand-me-down Furniture I ended up with 3 nightstands in my bedroom. Two of them were very similar and thus became the actual nightstands on either side of my bed.
That left one lonely nightstand, a hand-me-down from my parents that I've had for years. Even though I outsourced his job, I still wanted to keep him in my bedroom because he has two great storage drawers.
I wasn't wild about his hardware or color but I knew those could both be changed. Actually once I took the hardware off, it kind of grew on me.
I started off by throwing the drawers and then frame in my painting box and getting it primed for a brand new color scheme. On a side note, the painting box has been living out back since we haven't had rain in Dallas in weeks. The one weekend I leave town and leave the box outside, it rains. I was a little nervous my box would be ruined but thanks to the 100 degree temperatures that resumed after the storm, my box was all dry by the time I got home.
I had chosen Rust-Oleum's Paprika for the nightstand. I figured it would look good with the new bedding and add a little pizazz to the room.
It took a couple of coats to really get the saturated color but it definitely livened up the piece.
Once it was all finished I reinstalled the old hardware. It has grown on me, especially now that the nightstand is paprika!
That left one lonely nightstand, a hand-me-down from my parents that I've had for years. Even though I outsourced his job, I still wanted to keep him in my bedroom because he has two great storage drawers.
I wasn't wild about his hardware or color but I knew those could both be changed. Actually once I took the hardware off, it kind of grew on me.
I started off by throwing the drawers and then frame in my painting box and getting it primed for a brand new color scheme. On a side note, the painting box has been living out back since we haven't had rain in Dallas in weeks. The one weekend I leave town and leave the box outside, it rains. I was a little nervous my box would be ruined but thanks to the 100 degree temperatures that resumed after the storm, my box was all dry by the time I got home.
I had chosen Rust-Oleum's Paprika for the nightstand. I figured it would look good with the new bedding and add a little pizazz to the room.
It took a couple of coats to really get the saturated color but it definitely livened up the piece.
It's sitting in the corner right now but may eventually find a home on another wall. I really like the way it works with my duvet cover and I'm playing with different colored objects to place atop it. Other things to note in the photo below...1. I really need to pick the paint brush back up and paint my doors. 2. Why would anyone buy and install window treatments that were 6" too short for their window? This is a question only Previous Owner could answer.
Tuesday, August 16, 2011
Improving My Cheap Art
As you may recall, Cheap Paper Art, Day 2 left off with me on the hunt for a decal for my teal hanging. Well folks, I finally found it at Target. Not in the art section of the store, rather on an end cap near the dog treats. Your guess is as good as mine. I found the exact one I'd been stalking on the internet for only $10.
These wall decals are backed with a material similar to Post-it notes that allow you to spice up walls without committing to major painted murals. They are also perfect for sticking atop my Paper Source wrapping paper art. It came in four separate pieces on one sheet.
It also came with stick-on bling in the form of tiny rhinestones. I put those aside; they would not be neccesary.
Starting with the middle chunk of the chandelier, I transferred the pieces over in about 5 minutes. Piece of cake.
I love how it looks like it's hanging up against damask wallpaper. It seems fitting. So now my $4.95 art is up to $14.95 but it's still quite the steal. I haven't figured out what to do about the frame yet, but I'm sure it will come to me eventually.
This is all a slow progress but I'm enjoying every step of it!
These wall decals are backed with a material similar to Post-it notes that allow you to spice up walls without committing to major painted murals. They are also perfect for sticking atop my Paper Source wrapping paper art. It came in four separate pieces on one sheet.
It also came with stick-on bling in the form of tiny rhinestones. I put those aside; they would not be neccesary.
Starting with the middle chunk of the chandelier, I transferred the pieces over in about 5 minutes. Piece of cake.
I love how it looks like it's hanging up against damask wallpaper. It seems fitting. So now my $4.95 art is up to $14.95 but it's still quite the steal. I haven't figured out what to do about the frame yet, but I'm sure it will come to me eventually.
This is all a slow progress but I'm enjoying every step of it!
Monday, August 15, 2011
Chalk Project #2
I still have over half a can of chalk board spray paint so I decided to tackle another project. I keep my baking ingredients in mason jars in my cabinet. Not because they are cool or trendy but because they are $1.40 each and do the job just as well as expensive canisters. And since they live in a pantry it doesn't really matter what they look like. I often get confused over which jar has what in it, since 3 of them are white.
For the record those are Brown Rice, Regular Sugar, Powdered Sugar, Flour and Brown Sugar. I used painter's tape to make small squares on the front of each jar and then used pages from old gossip magazines to protect the rest of the jar from my spray painting.
They came out great! I still have not mastered my chalk penmenship but hopefully with practice I'll be better. I'm just excited that now I can glance up and tell what's in each jar without having to pull all of them down.
For the record those are Brown Rice, Regular Sugar, Powdered Sugar, Flour and Brown Sugar. I used painter's tape to make small squares on the front of each jar and then used pages from old gossip magazines to protect the rest of the jar from my spray painting.
They came out great! I still have not mastered my chalk penmenship but hopefully with practice I'll be better. I'm just excited that now I can glance up and tell what's in each jar without having to pull all of them down.
Friday, August 12, 2011
Rock Chalk
I just took spray painting to a whole new level at my house. I had no idea you could spray paint chalk board until I noticed a can on the shelves of Home Depot. Yes, I regularly check out Home Depot's Rust-Oleum section seeing if there is anything I need. For a few bucks I picked up a can figuring I could find something to use it on eventually. Once home I remembered an odd piece of wood that came with the house, just propped against the wall of the garage. I think it's a particle board shelf from some sort of shevling unit. Who knows. I don't ask questions, I just spray paint.
I took it out to my trusty paint box to sand, prime, and then transform it to a chalk board.
After a couple of coats and letting it dry for over 24 hours, I was ready to give it a spin. First I had to take it in and attach nail sawtooth hangers to the back, completing its transformation from scrap wood to actual wall hanging.
I hung it in the kitchen opposite my silverware art and next to my fridge. I grabbed my chalk and 8th grade anxiety came rushing over me. Yep, I still have horrible chalk board penmenship. Some things never change.
Maybe I can hire one of those guys that do fancy chalk board art at bars and restaurants to write my weekly grocery list and reminders.
I took it out to my trusty paint box to sand, prime, and then transform it to a chalk board.
After a couple of coats and letting it dry for over 24 hours, I was ready to give it a spin. First I had to take it in and attach nail sawtooth hangers to the back, completing its transformation from scrap wood to actual wall hanging.
I hung it in the kitchen opposite my silverware art and next to my fridge. I grabbed my chalk and 8th grade anxiety came rushing over me. Yep, I still have horrible chalk board penmenship. Some things never change.
Maybe I can hire one of those guys that do fancy chalk board art at bars and restaurants to write my weekly grocery list and reminders.
Thursday, August 11, 2011
Lamp Revamp
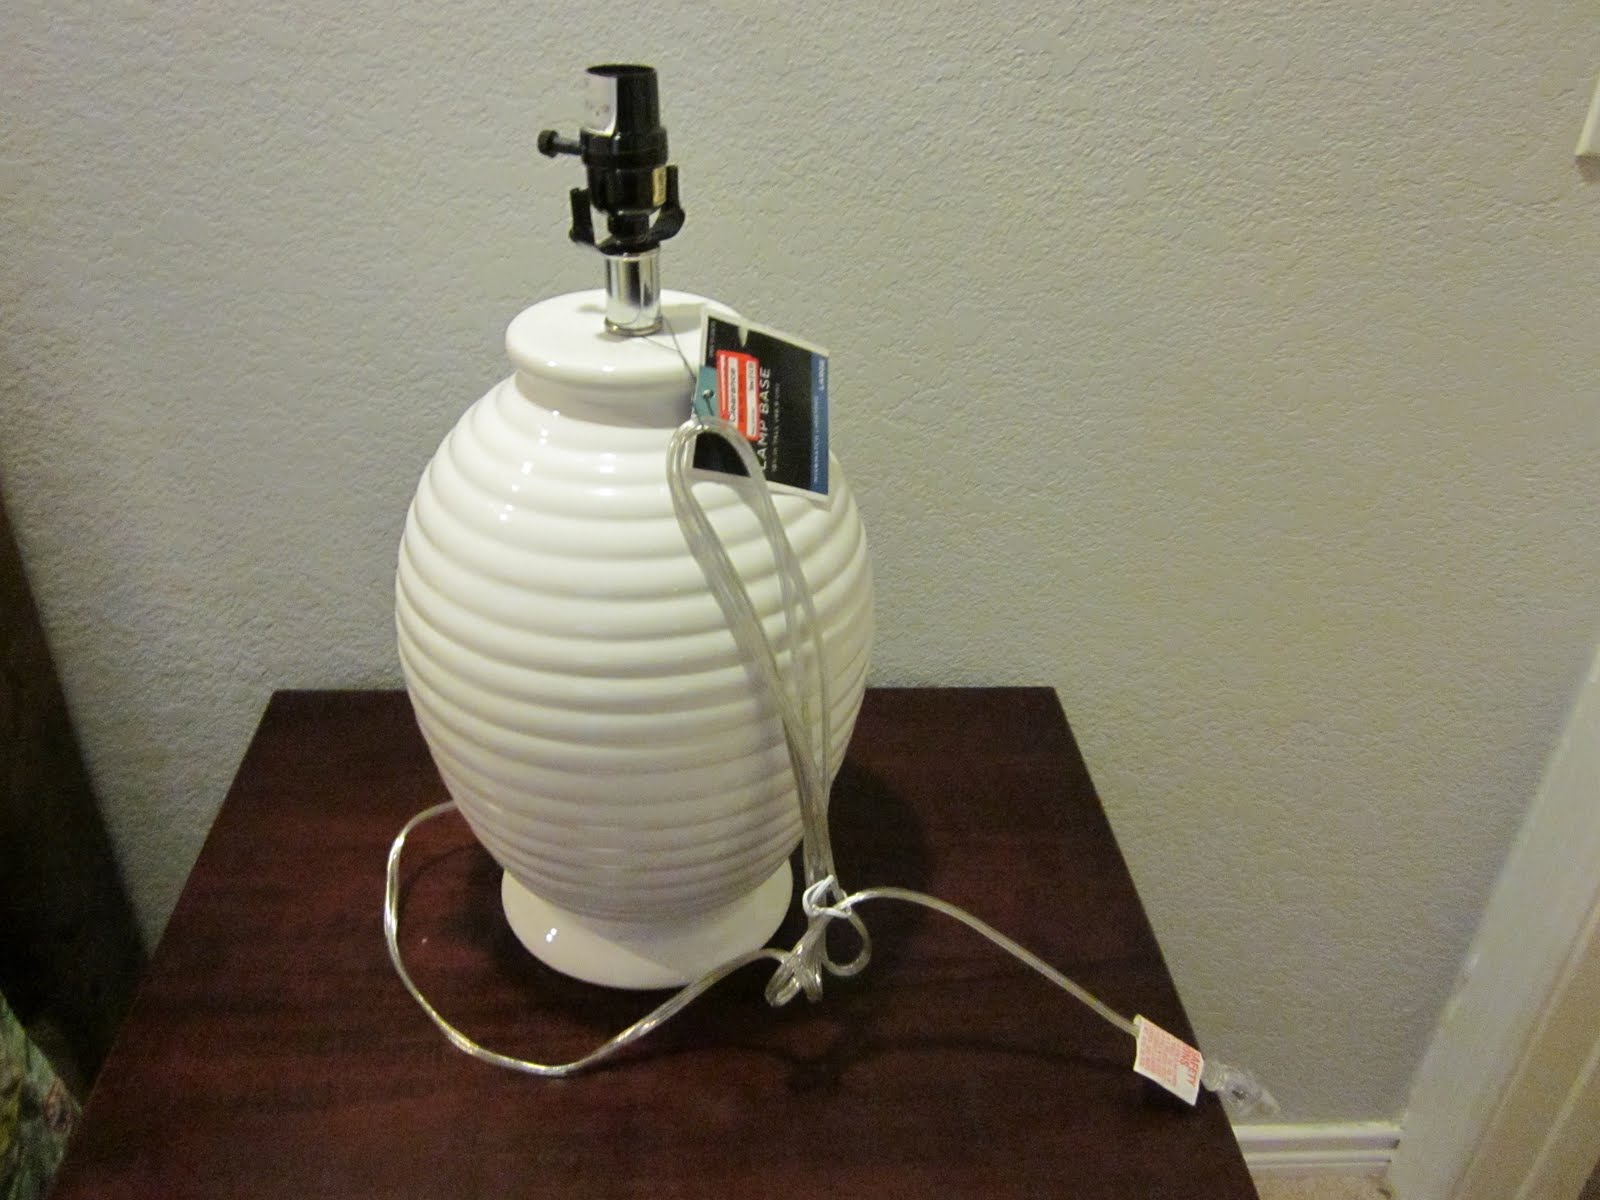
A few weeks ago, when I first embarked on my spray painting journey, I decided to bring some crisp new life to an old lamp that I use on my nightstand.
I love the simple shape to the lamp base but the color was a little too beige for me. Being the new beige-hater that I am, I decided to spray paint it white.
Once I got it painted I put my old shade on it until I could find a white drum shade that would work. A couple of weeks passed and then I found myself with not one, but two nightstands! How very grown up of me. I hadn't given it much thought (as I was too busy spray painting the world to worry about symmetry) until I stumbled upon the bargin of the century while grocery shopping at Super Target. Shoved on an endcap in a completely different department was a very similarly shaped and sized white lamp for 75% off!
I snapped it up and raced my buggy over to the lamp aisle for drum shades. As luck would have it they had exactly 2 in stock of the exact style I had in mind. This was all meant to be.
I feel much more balanced now! And I actually love the fact that they are not the same lamp because my nightstands are mismatched as well. Now it kinda looks like I did it all on purpose rather than mixing and matching hand-me-downs and clearance items. Love it! I'm hoping once the room is finished they won't feel too stark white in the room, but if they do, I'll just grab a can of spray paint.
I love the simple shape to the lamp base but the color was a little too beige for me. Being the new beige-hater that I am, I decided to spray paint it white.
| Yes, I realize my alarm clock is from 1992. |
I snapped it up and raced my buggy over to the lamp aisle for drum shades. As luck would have it they had exactly 2 in stock of the exact style I had in mind. This was all meant to be.
I feel much more balanced now! And I actually love the fact that they are not the same lamp because my nightstands are mismatched as well. Now it kinda looks like I did it all on purpose rather than mixing and matching hand-me-downs and clearance items. Love it! I'm hoping once the room is finished they won't feel too stark white in the room, but if they do, I'll just grab a can of spray paint.
Wednesday, August 10, 2011
Moroccan Master
As Hank pointed out in an earlier post, my master bedroom was a little boring. I managed to get my walls and trim painted using the same colors as the living room but that was as far as I'd gone. I'd been trying to decide on a new duvet cover for a few weeks. Well I finally pushed myself to make a decision. I grabbed my 20% off coupon and marched down to Bed, Bath, and Beyond.

And I even commandeered a throw pillow from the living room, deciding it was a better fit on my bed.

I am looking to add a little bit of a Moroccan/Indian vibe to the bedroom. This duvet didn't have all the different colors I wanted in it, but it was colorful enough that I figured I could add extra colors and it would all sorta blend. We'll see how well that works out.
I bought two matching shams and then plan to mix other solid or small print pillow cases. I keep 6 pillows on my bed. Overkill? Maybe, but they are all necessary and it allows me to layer on other colors. The linens blend well with my cheap paper art:And I even commandeered a throw pillow from the living room, deciding it was a better fit on my bed.
I still have a long way to go in this room but at least I now have a direction. Here's a quick little mood board with other elements I'd like to bring in to the room.
Subscribe to:
Posts (Atom)